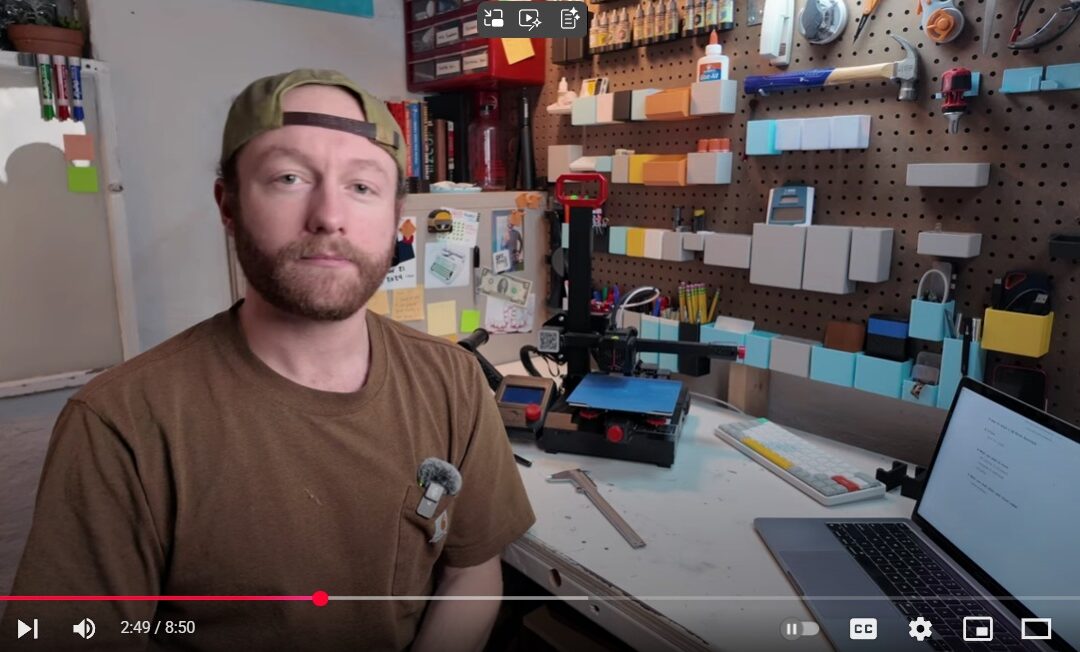
How to Start a 3D Printing Business from Your Basement: One Maker’s Guide
Hey there, welcome back!
If you’re new here, my name is Chris Egenberger, and I run a small 3D printing shop right out of my basement. Over the last week, I’ve had a ton of people ask me:
“How do I get started with my first 3D printer?”
“What do I actually need to launch a 3D print business from home?”
So today, I’m giving you the full starter kit—broken down into three key stages to help you set up a shop just like mine. Whether you’re thinking side hustle or full-time pursuit, this guide is built to be lean, practical, and experience-based.
How to Start a 3D Printing Business in 2025 – Vlog 5
🔧 Stage 1: What You Need to Get Started
Let’s keep it simple. Don’t overbuy. Start with tools that get you learning and shipping fast.
🖨️ 1. Your First 3D Printer
My very first printer was on Black Friday sale for $110. I sold my first batch of products for $15 each and paid off the machine with 10 orders.
💡 Advice: Buy the biggest printer you can afford.
If your product ideas are small, a compact model works fine—but a bigger bed gives you room to experiment.
✅ Beginner recommendation: Bambu A1 Mini – easy, auto-leveling, reliable prints.
🧰 2. Tinker or Operator—Know Your Style
If you love building and diagnosing hardware, an Ender or Creality printer will give you a hands-on experience.
If you’d rather focus on products and design, go with a plug-and-play brand like Bambu or AnkerMake.
💻 3. Modeling Software
You need a modeling tool to design or modify parts:
-
Parametric Modeling (e.g., Fusion 360, TinkerCAD) – best for dimensional parts, functional designs
-
Organic Modeling (e.g., Blender) – great for toys, art, figures
Use what fits your goals. I personally use parametric software for precision fitment.
📏 4. Calipers
Start with an affordable pair ($15–25 on Amazon). Digital calipers are beginner-friendly, but manual ones are great if you want to learn proper scaling and measuring.
🛒 Stage 2: Listing a Product Online
Now that you’ve got a printer and a design, it’s time to start selling.
📷 1. Photography with What You Have
You don’t need a fancy setup. Use your phone, natural daylight, and objects from around your house as props.
Avoid over-editing. A clear, well-lit photo with natural shadows wins.
🌐 2. Where to Sell
Start simple:
-
Etsy: Fastest for craft and home decor
-
Facebook Marketplace: Good for local traction
-
eBay or your own website (down the line)
Don’t worry about perfection. Upload a solid listing and improve with feedback.
📦 Stage 3: Packing & Shipping Your First Order
Only worry about shipping once you’ve made a sale. Don’t overthink this step until it matters.
📮 1. Shipping Materials
-
Use Amazon to buy cheap boxes or bubble mailers
-
Cushion Lock (paper origami-style padding) works well and is eco-friendly
-
Start with the smallest size that fits your product
🖨️ 2. Printing Labels
-
If you have a printer, use it
-
If not, check your local library
-
Use regular paper + packing tape if you don’t have sticker labels
💡 Pro Tip: Keep everything simple, cheap, and efficient until you’re making steady sales.
🧠 Final Thoughts: Persistence, Patience, and Practice
I’m still early in my journey. I don’t claim to have all the answers. But I can tell you that success doesn’t come from perfection—it comes from showing up consistently.
-
Be persistent when your first few products flop
-
Stay patient while you learn modeling and printer quirks
-
Practice until every part of the workflow becomes second nature
“Spend as little money as possible. Get as many sales as possible. Keep quality as the focus.”
If you want to make this a sustainable business, keep reinvesting profits, not your personal bank account.
🎥 What’s Next?
I’m releasing new videos Tuesdays, Thursdays, and Saturdays. This Saturday’s video will focus on my design process—how I create products that actually work within the limits of my printer and why those decisions matter.
Until then, thanks for spending a piece of your Thanksgiving with me.
If you enjoyed this, please like, subscribe, and hit that bell so you don’t miss the next part of the journey.
👉 Let’s build this thing together.

